install.packages("devtools")
devtools::install_github(repo = "stefvanbuuren/mice")Week 6: Code robustness and dissemination
How to develop, test and publish software packages
Lecture Week 3
R-packages
It is much easier to create, manage and co-develop an R-package when you incorporate it into a distributed version control system like Git. The extension to a software development hosting service like GitHub is then a natural one. Although there are other procedures, devops systems and hosting services that may lend itself for package development, we outline the workflow with Git and GitHub. We also assume that you have RStudio installed.
Recap on Git
Git is a free and open source version control system for text files. It can handle extensive change logging for you, no matter the size of the project. Git is fast and efficient, but its effectiveness depends also on the frequency you instruct it to log your project’s changes.
You can see Git as a blank canvas that starts at a certain point in time. Every time you (or others) instruct Git to log any changes that have been made, Git adds the changes that are made to this canvas. We call the changes to the canvas commits. With every commit an extensive log is created that includes at least the following information:
- the changes made
- who made the changes
- metadata
- a small piece of text that describe the changes made
The difference between two commits - or the changes between them - are called diffs.
If you’d like to know much more about Git, this online book is a very good resource. If you’d like to practice with the command line interface use this webpage for a quick course. This book covers pretty much everything you need to marry Git and R.
Why GitHub
GitHub is the social and user interface to Git that allows you to work in repositories. These repositories can be seen as project folders in which you publish your work, but you can also use them as test sites for development, testing, etcetera. There is a distinction between private repositories (only for you and those you grant access) and public repositories (visible for everyone).
Your public repositories can be viewed and forked by everyone. Forking is when other people create a copy of your repository on their own account. This allows them to work on a repository without affecting the master. You can also do this yourself, but then the process is called branching instead of forking. If you create a copy of a repository that is offline, the process is called cloning.
GitHub’s ability to branch, fork and clone is very useful as it allows other people and yourself to experiment on (the code in) a repository before any definitive changes are merged with the master. If you’re working in a forked repository, you can submit a pull request to the repository collaborators to accept (or reject) any suggested changes.
For now, this may be confusing, but I hope you recognize the benefits GitHub can have on the process of development and bug-fixing. For example, the most up-to-date version of the mice package in R can be directly installed from the mice repository with the following code:
You can see that this process requires package devtools that expands the R functionality with essential development tools. Loading packages in R directly from their respective GitHub repositories, allows you to obtain the latest - often improved and less buggy - iteration of that software even before it is published on CRAN.
Install RStudio
Install RStudio from Posit’s website. The free edition will suffice.
Some R-code
In order to demonstrate the creation of an R-package, we will identify some odd behaviour by R:
library(dplyr)
c(0.5, 1.5, 2.5, 3.5) %>% round()
[1] 0 2 2 4We can see that R rounds - by default - the number 1.5 to integer 2 and the number 2.5 also to integer 2. The reason for this behaviour is the IEC 60559 standard where a 5 is expected to be rounded to the even digit.
If we’d like to round up to the next integer, we can easily define the following function:
rounder <- function(x){
  diff <- x - floor(x)
  out <- x %>% ceiling()
  out[diff < .5] <- floor(x)[diff < .5]
  return(out)
}
where the vector c(0.5, 1.5, 2.5, 3.5) is rounded up to the next integer
c(0.5, 1.5, 2.5, 3.5) %>% rounder()[1] 1 2 3 4and where the vector c(0.49, 1.49, 2.49, 3.49) is rounded down to the previous integer
c(0.49, 1.49, 2.49, 3.49) %>% rounder()[1] 0 1 2 3Create R-package roundR
The goal of this document is to create the code for the rounder() function into a stand-alone R-package with its referenceable Digital Object Identifier
Steps in creating an R-package
Packages and sources needed
We need the following packages to help us with building, testing and maintaining our package:
library(devtools) # development tools
library(usethis)  # automated package and project setup
library(testthat) # unit testing
Preparing the package structure
We need a location for our R-package. The simplest approach to creating the skeleton for an R-package is to use RStudio. The following gif outlines this procedure:
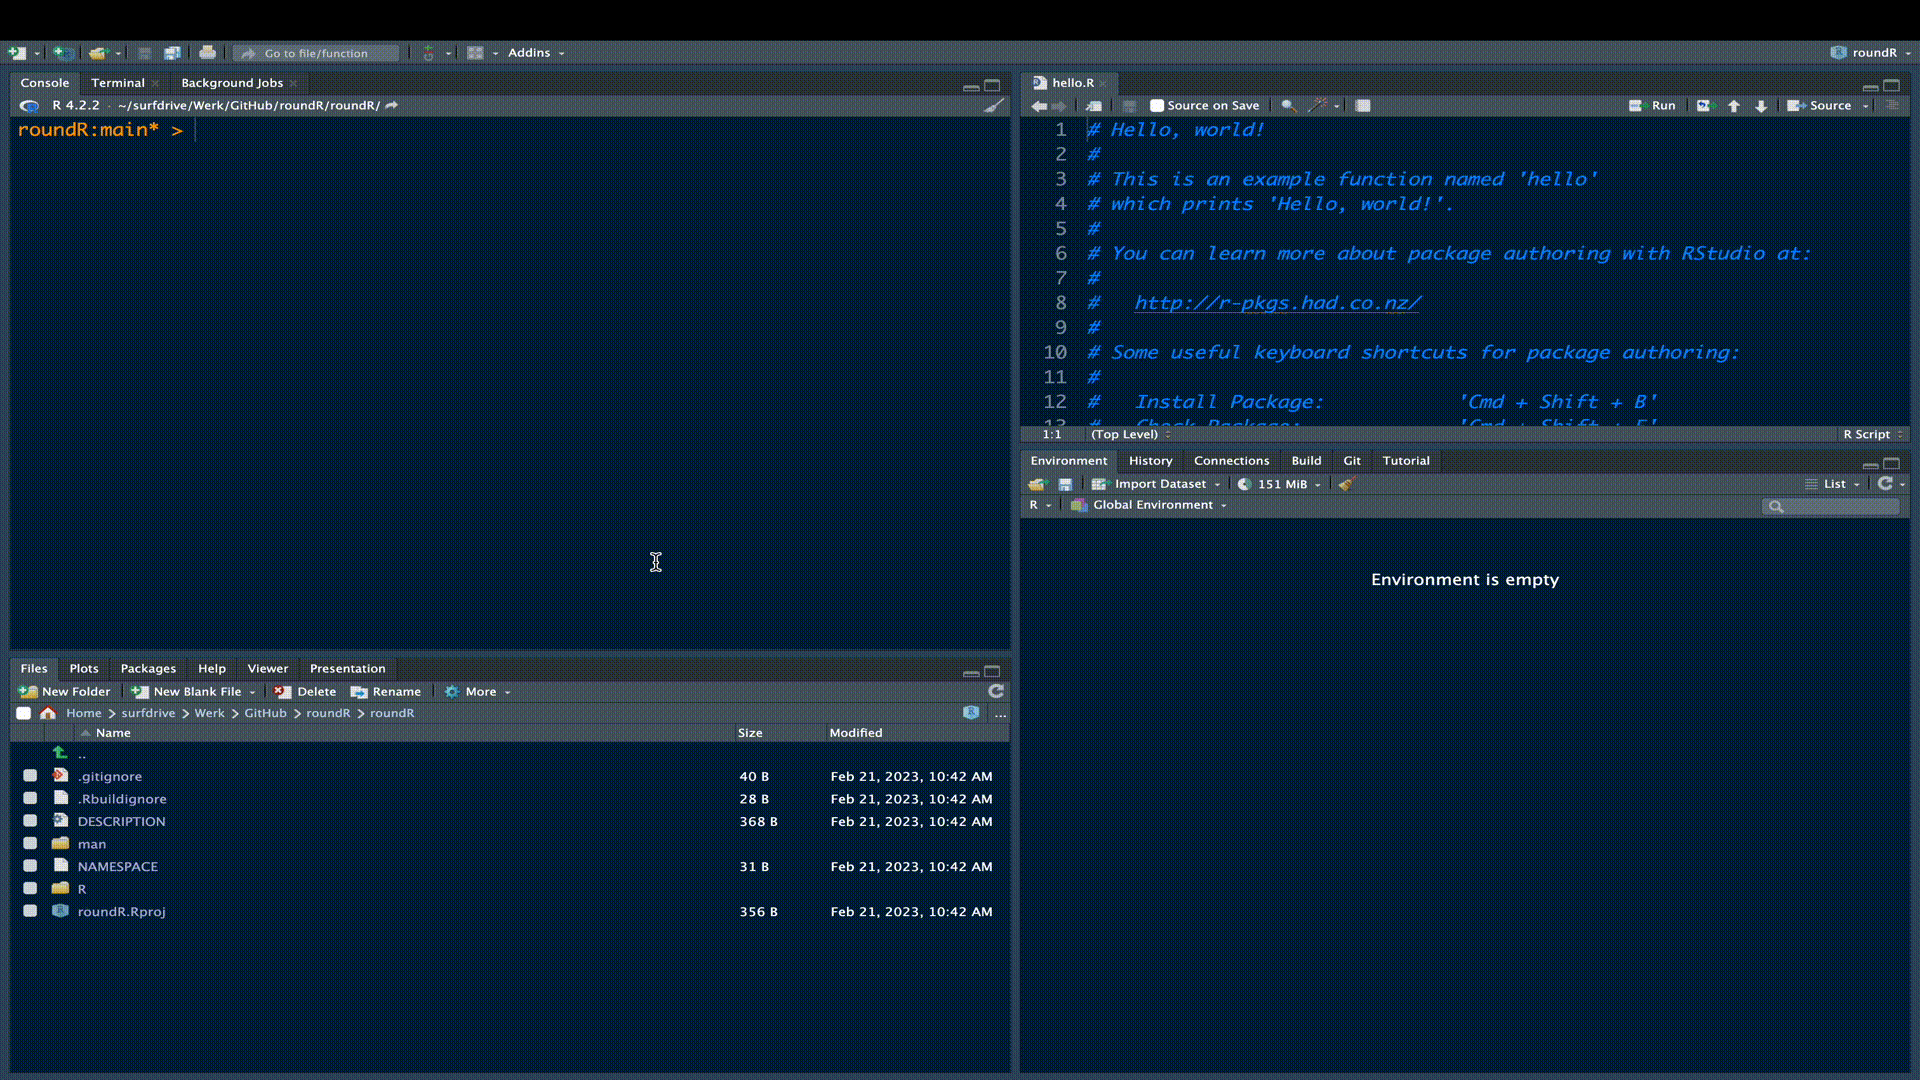
We have now created the necessary structure for an R-package. We can see this structure and the generated package files in the File Pane in RStudio.
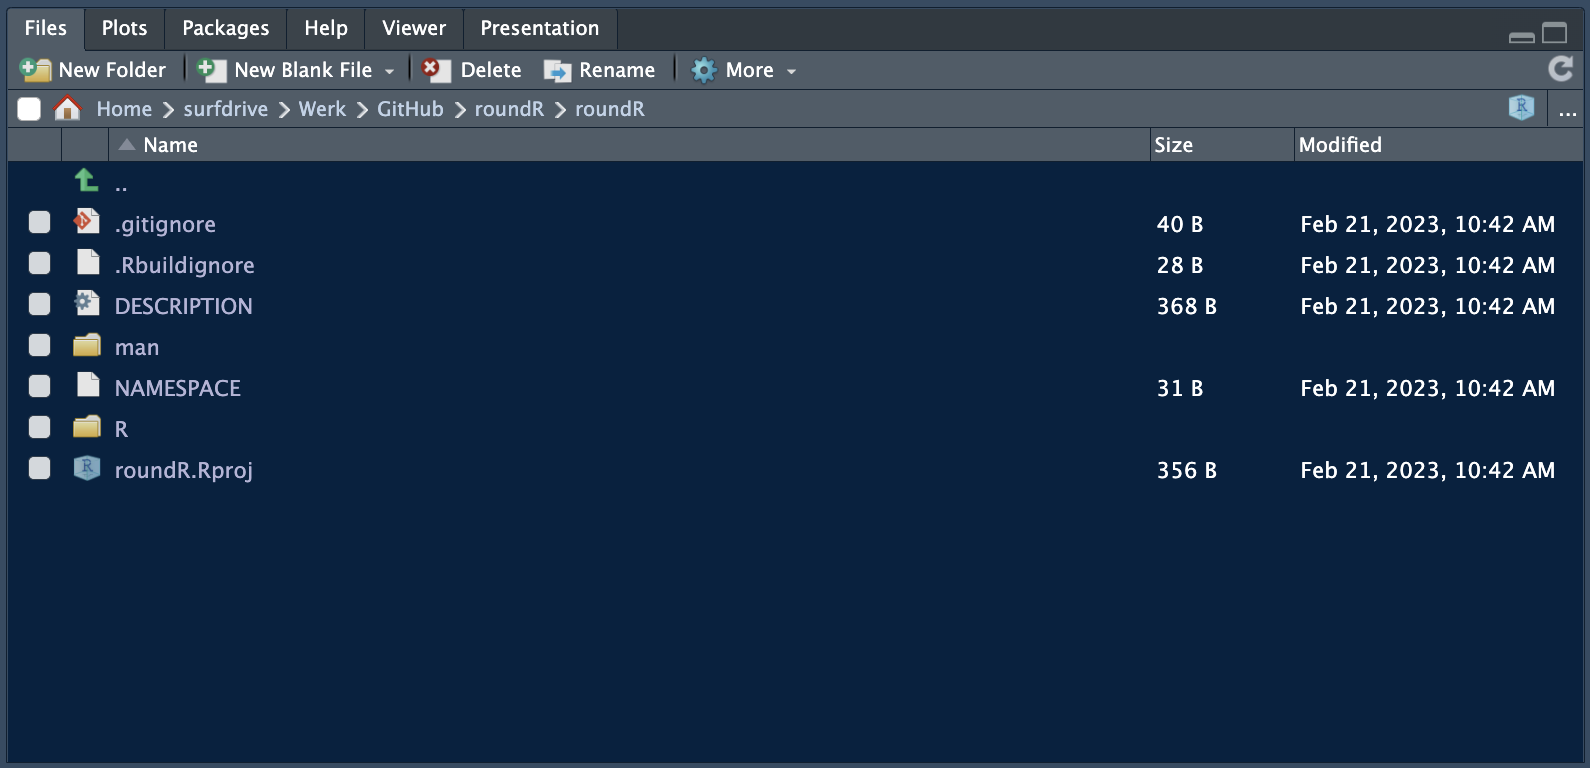
The R subfolder contains all the R-code for your package and the man folder contains all the corresponding R manuals. By default, for a new R-package generated by RStudio the file hello.R is generated.
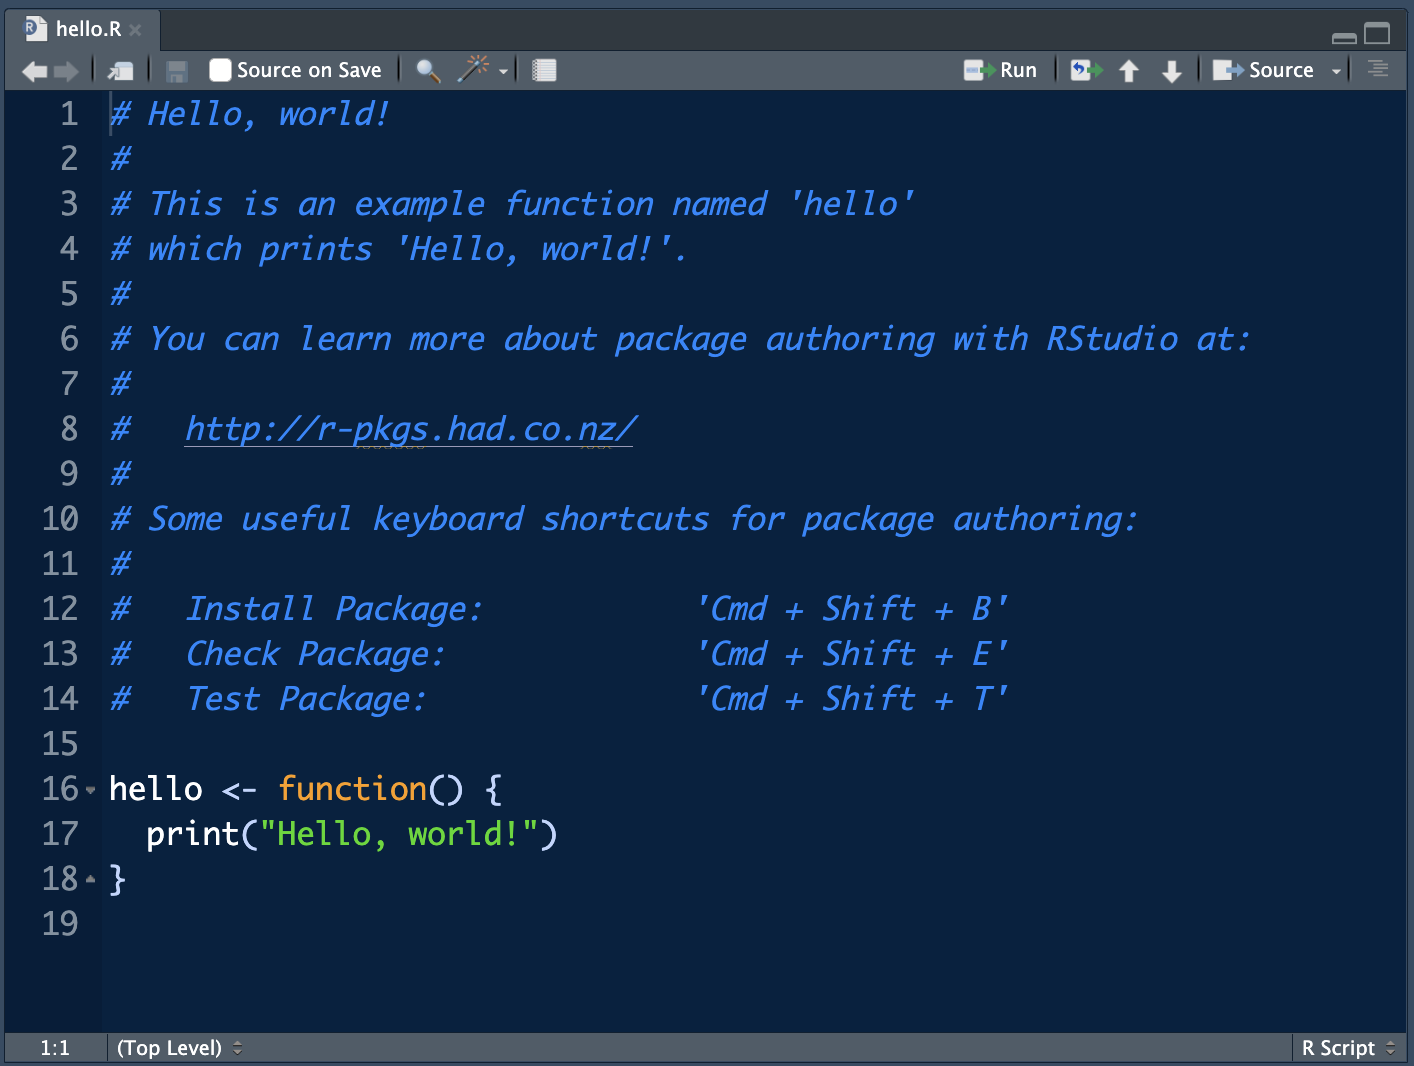
As a matter of fact, the skeleton R-package is already a fully functional R-package. Try installing the package in the build pane.
Add the description
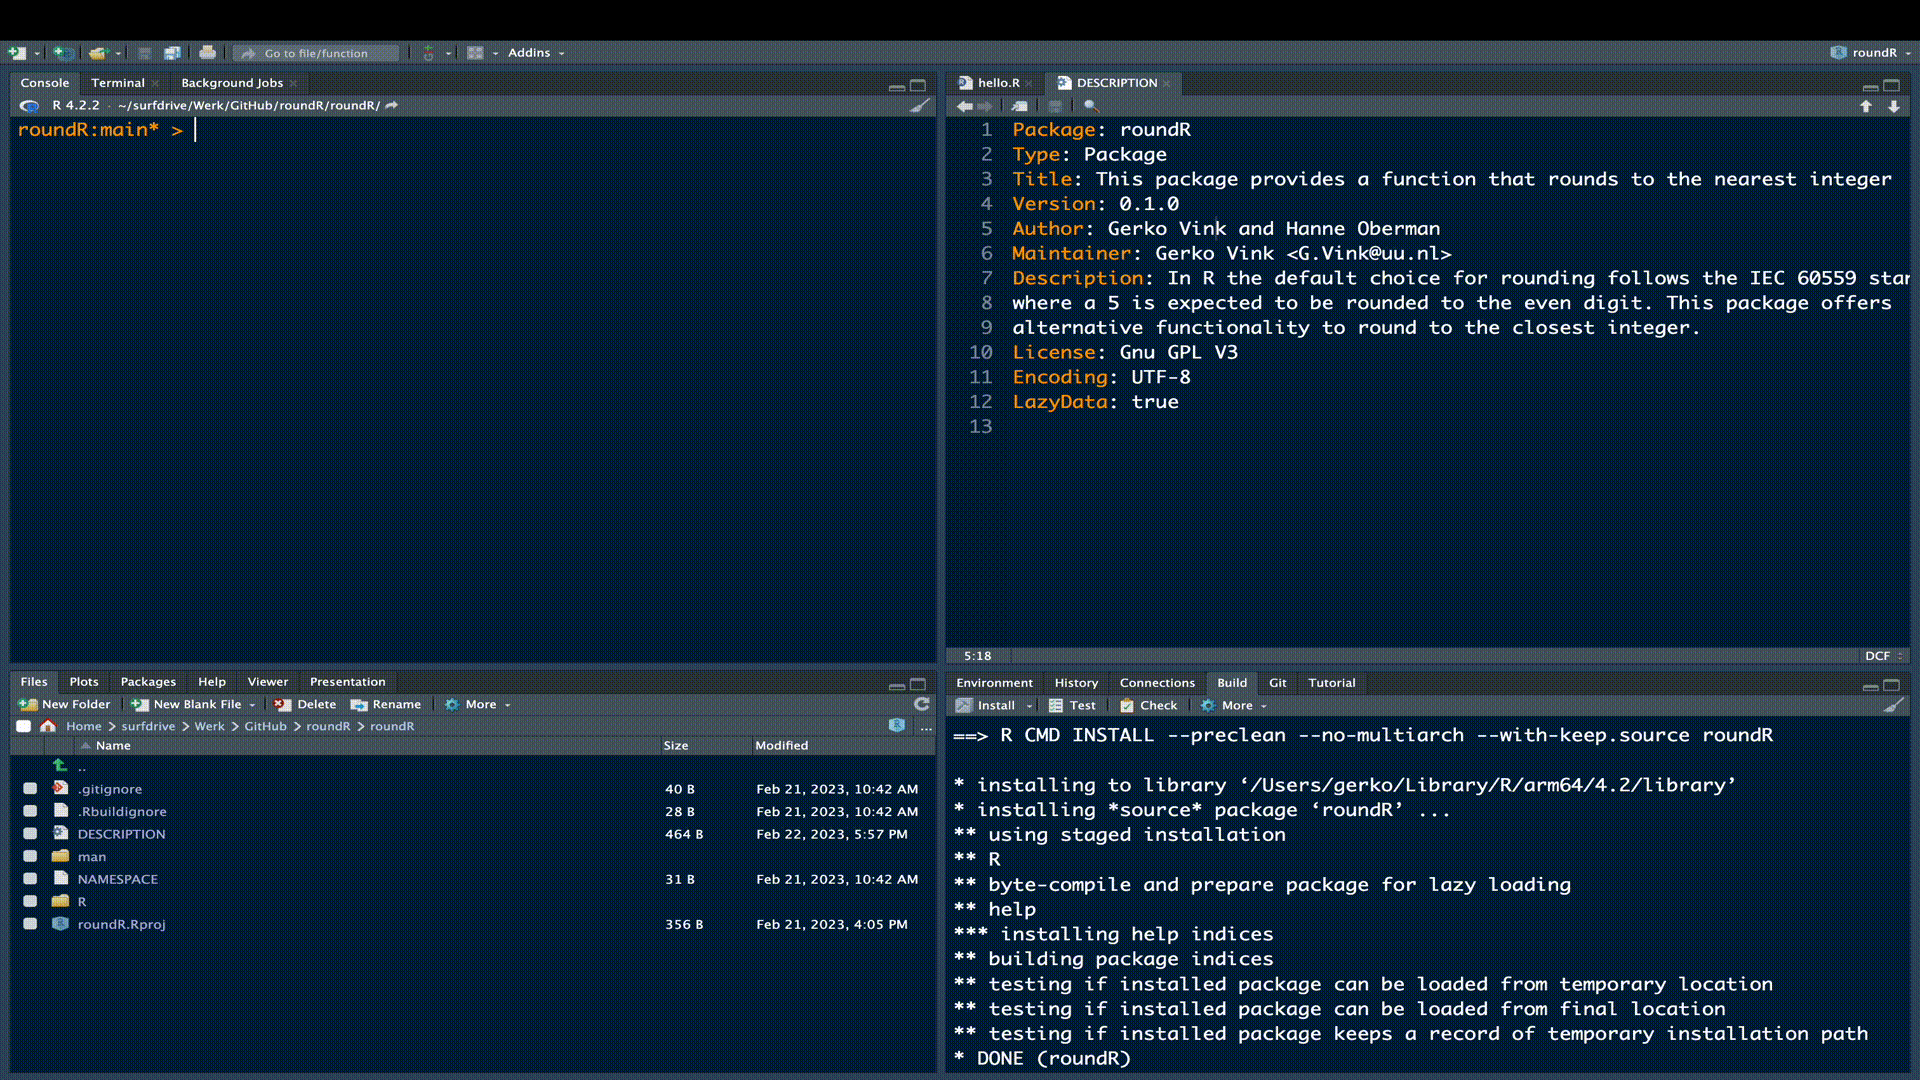
Open the file DESCRIPTION from the file pane. The following window opens:

Now, replace the contents of the DESCRIPTION file with
Package: roundR
Type: Package
Title: Round Numeric Values to the Nearest Integer
Version: 0.1.0
Author: Gerko Vink and Hanne Oberman
Maintainer: Gerko Vink <G.Vink@uu.nl>
Description: In R the default choice for rounding follows the IEC 60559 standard where a 5 is expected to be rounded to the even digit. This package offers alternative functionality to round to the closest integer.
License: No LiCeNsE YeT
Encoding: UTF-8
LazyData: true
The DESCRIPTION file governs the information about the licence, authors, contributors, maintainers, etcetera. The argument lazyData: true indicates that data sets should be lazily loaded. This means that data will not occupy any memory unless it is needed. This is a good argument to have as default.
We also need to set a license. Running the following code from package usethis will write a permissive MIT license to the description file
usethis::use_mit_license()Don’t forget to save the updated DESCRIPTION file and change our names to your name.
Add the functional code
Now it is time to extend the package with the functionality we promised in our updated DESCRIPTION. To do so, we start a new file names rounder.R by either manually creating it in the R sub folder, or by running the following code evaluation
usethis::use_r("rounder")The use_r() function from the usethis package is very convenient, because it creates the necessary file in the correct location and opens the file in the editor pane.
Now that we have created the file for our functional code, we can start building the code file. The most flexible approach to creating and maintaining a package is to use roxygen2. The roxygen2 package is a convenient in-line documentation convention that generates your Rd documentation, NAMESPACE file, and much more for you. Remember that man folder in our package root? That contains all documentation files. However, you can imagine if we have two seperate locations for our R-code and our Rd help files, that at some point the code and documentation might get out of sync. For example, if we update the code, but forget to reflect changes in our manual, the usability of our package may be at stake and documentation to end-users might get confusing. Most of all, it would be a lot of work for us to maintain multiple linked files in multiple locations. roxygen2 solves this for us by extracting the documentation from our R-code file. The only thing we need to do is maintain a single file.
To start with roxygen2 in our package, we need to instruct the package to use roxygen2 from now on:
usethis::use_roxygen_md()The above call will add the following lines to our DESCRIPTION file:
Roxygen: list(markdown = TRUE)
RoxygenNote: 7.2.3
We mentioned before that the roxygen2 engine expects the function documentation in the same file as the function code. A good starting point for that documentation is the following block:
#' A short description of your function
#'
#' @param x The first argument to be governed by the letter x.
#' @param y The second argument to denoted by the letter y.
#' @returns a short description of the expected return.
#' @examples
#' examplecode 1
#' examplecode 2
In R, when you have executed usethis::use_r() and have filled in your R code, you can run Code > Insert Roxygen Skeleton to automatically create the relevant roxygen documentation. For our function rounder() - with some customization and examples, this could result in the following rounder.R code file
#' Round to the nearest integer
#'
#'Function \code{\link{base::round}} rounds - by default -  the number `1.5` to
#'integer `2` and the number `2.5` also to integer `2`. The reason for this
#'behaviour is the IEC 60559 standard where a 5 is expected to be rounded to the
#'even digit. This function provides an integer rounding alternative to
#'\code{\link{base::round}}.
#'
#' @param x A numeric element or vector to round to the nearest integer
#' @returns An integer element or vector
#' @author Gerko Vink \email{g.vink@uu.nl} and Hanne Oberman \email{h.i.oberman@uu.nl}
#' @examples
#' # rounds weirdly
#' c(0.5, 1.5, 2.5, 3.5) %>% round()
#' # rounds correctly
#' c(0.5, 1.5, 2.5, 3.5) %>% rounder()
#'
rounder <- function(x) {
  diff <- x - floor(x)
  out <- x %>% ceiling()
  out[diff < .5] <- floor(x)[diff < .5]
  return(out)
}
You can copy the above code chunk to your rounder.R file. A good source to find inspiration for writing roxygen2 documentation is the roxygen2 reference page.
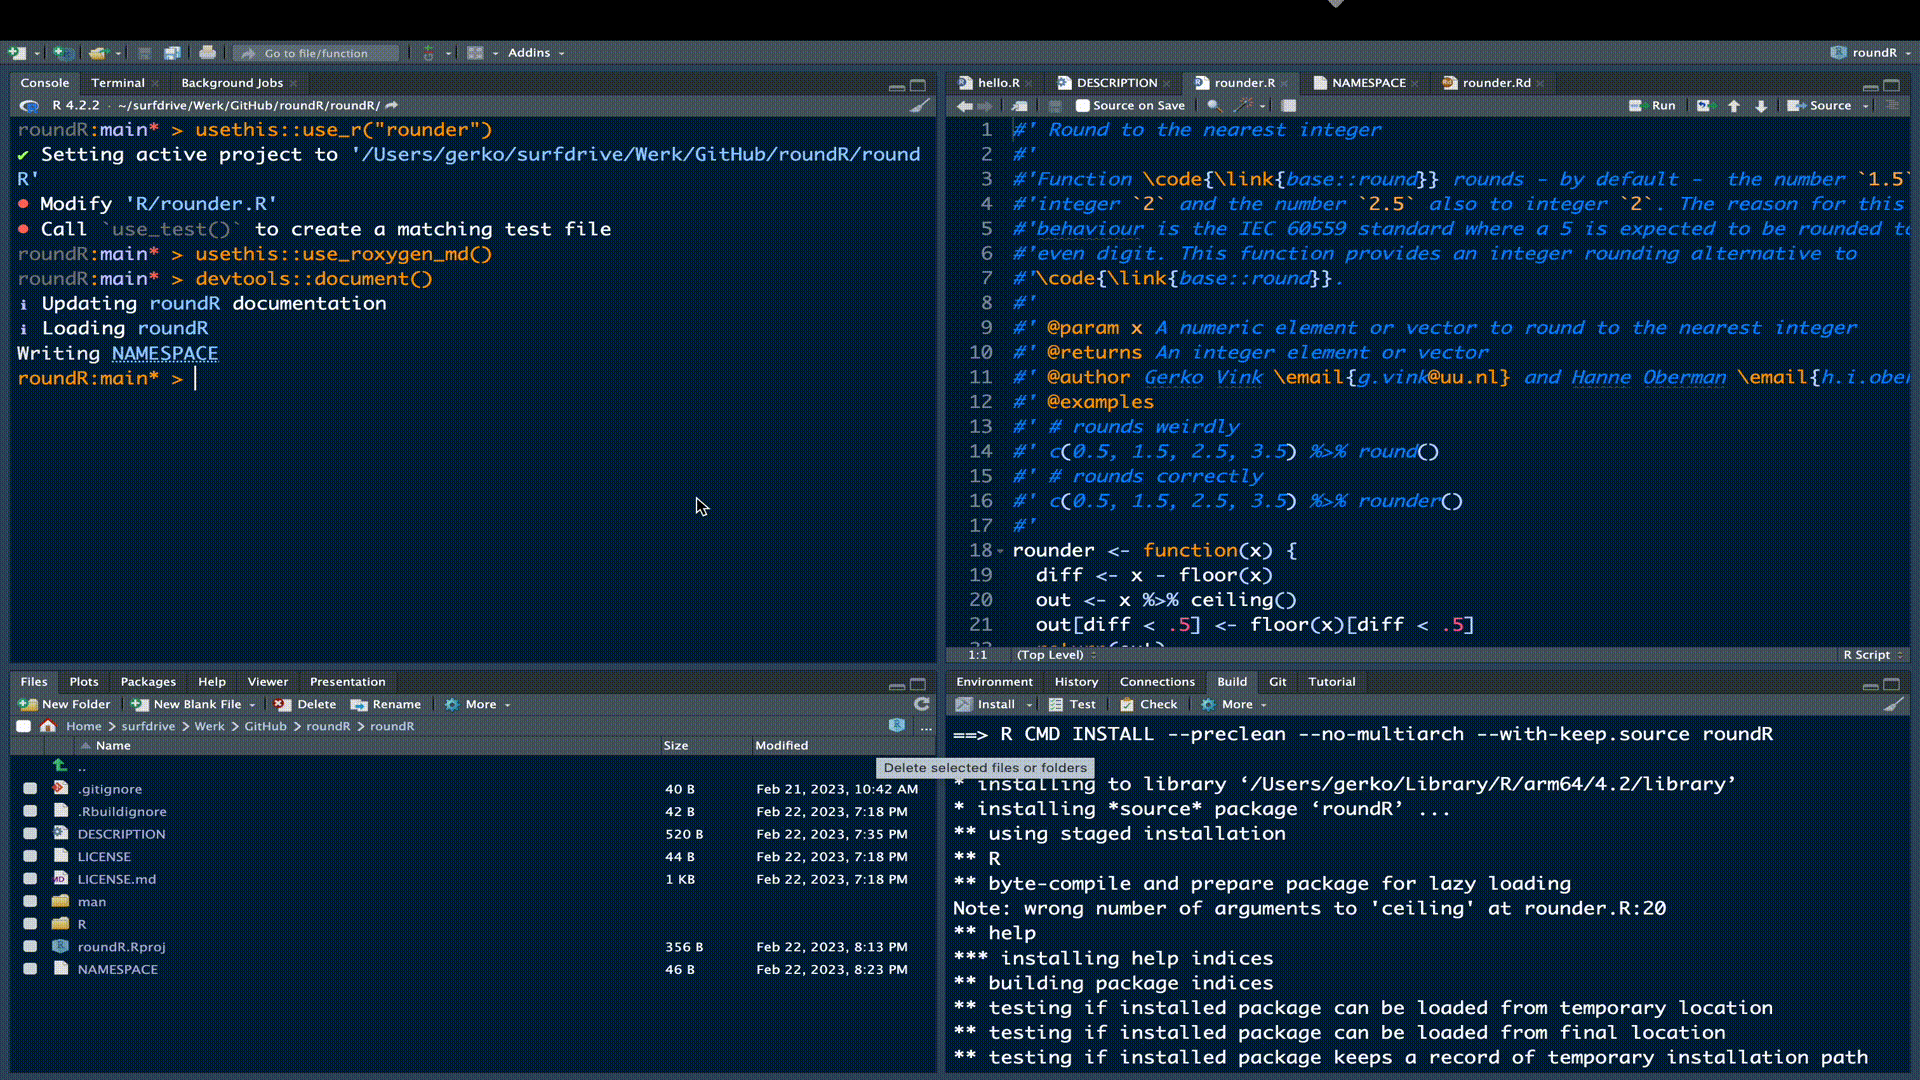
Now that we have a working rounder.R file with documentation included, we can build the documentation. A good wrapper function to build all documentation in your package is the following code evaluation:
devtools::document()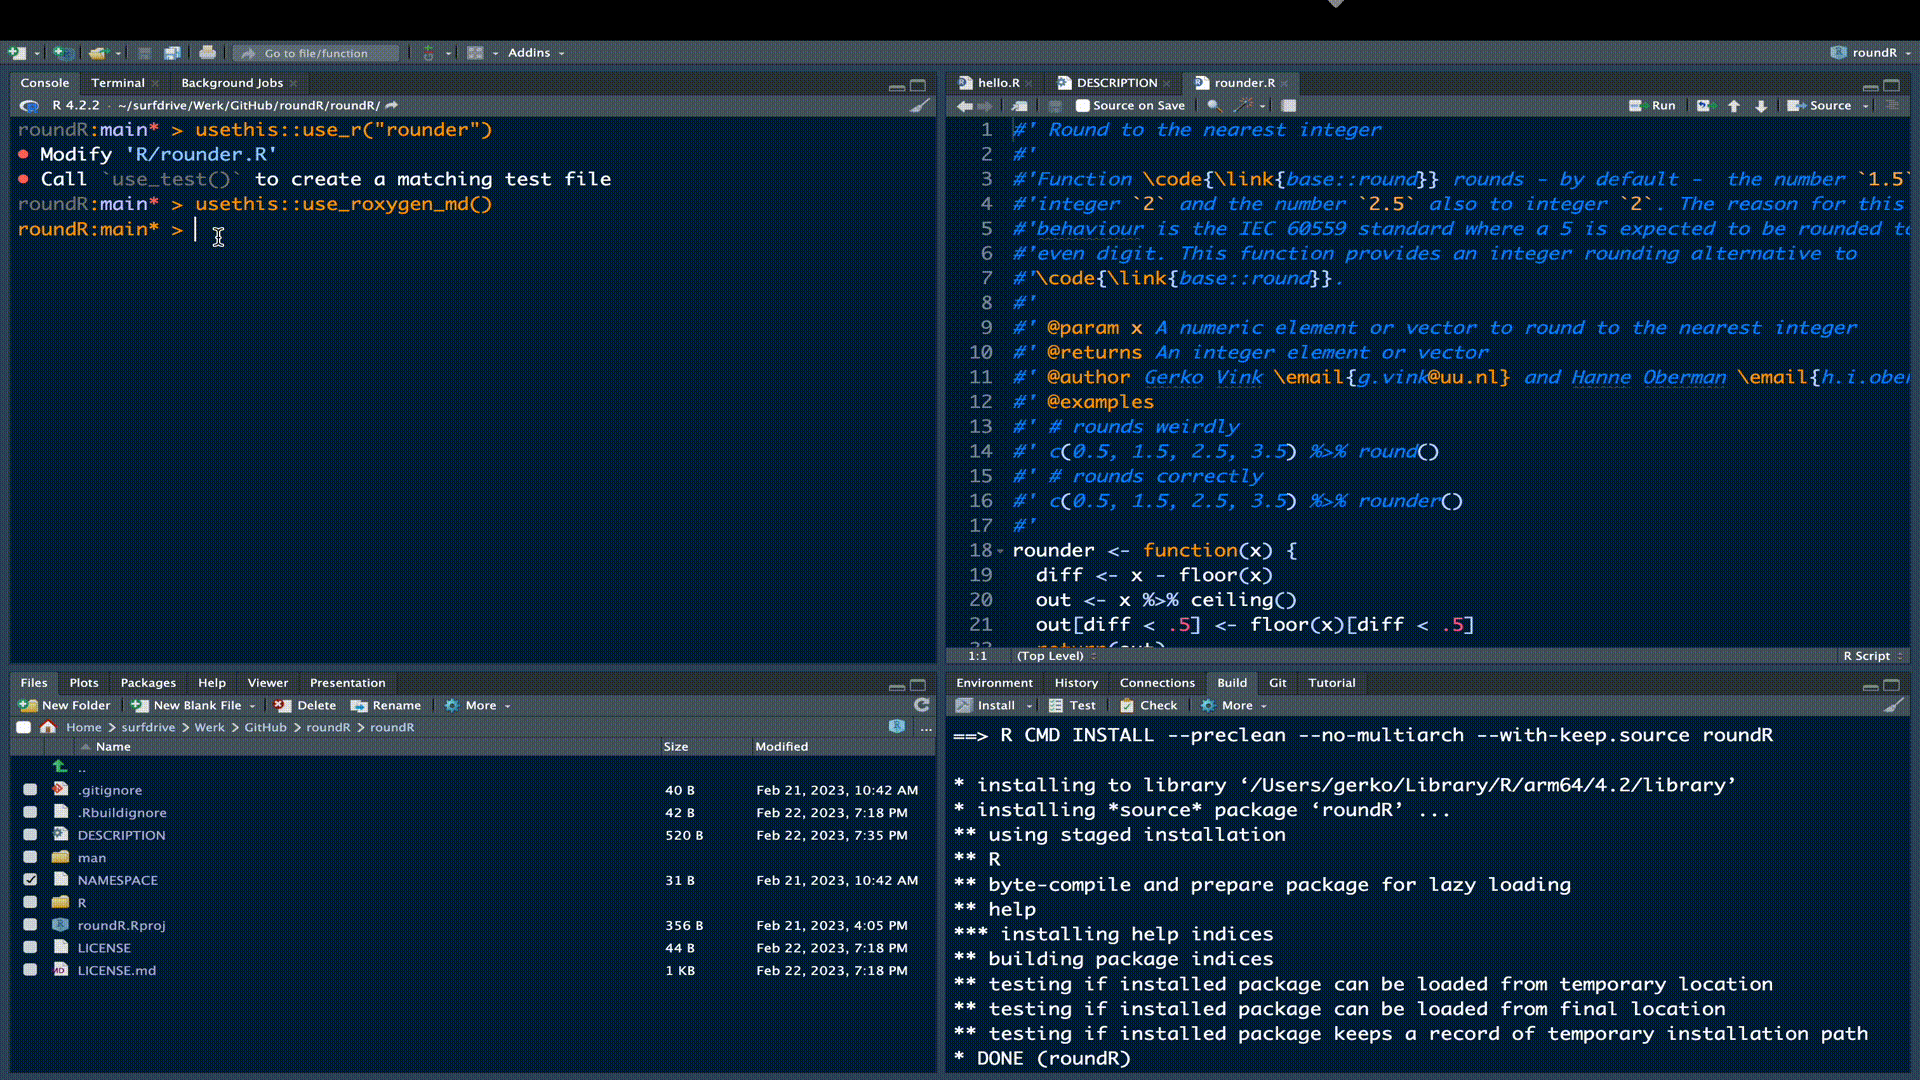
The document() function from the devtools package will build all documentation for all files that use roxygen2 and it will build the NAMESPACE of your package accordingly. If you encounter the following message:
Skipping NAMESPACE
✖ It already exists and was not generated by roxygen2.
just remove the NAMESPACE file and re-run the document() function.
We can now remove the R/hello.R and man/hello.Rd files as they are not supposed to be part of our package
Building and checking
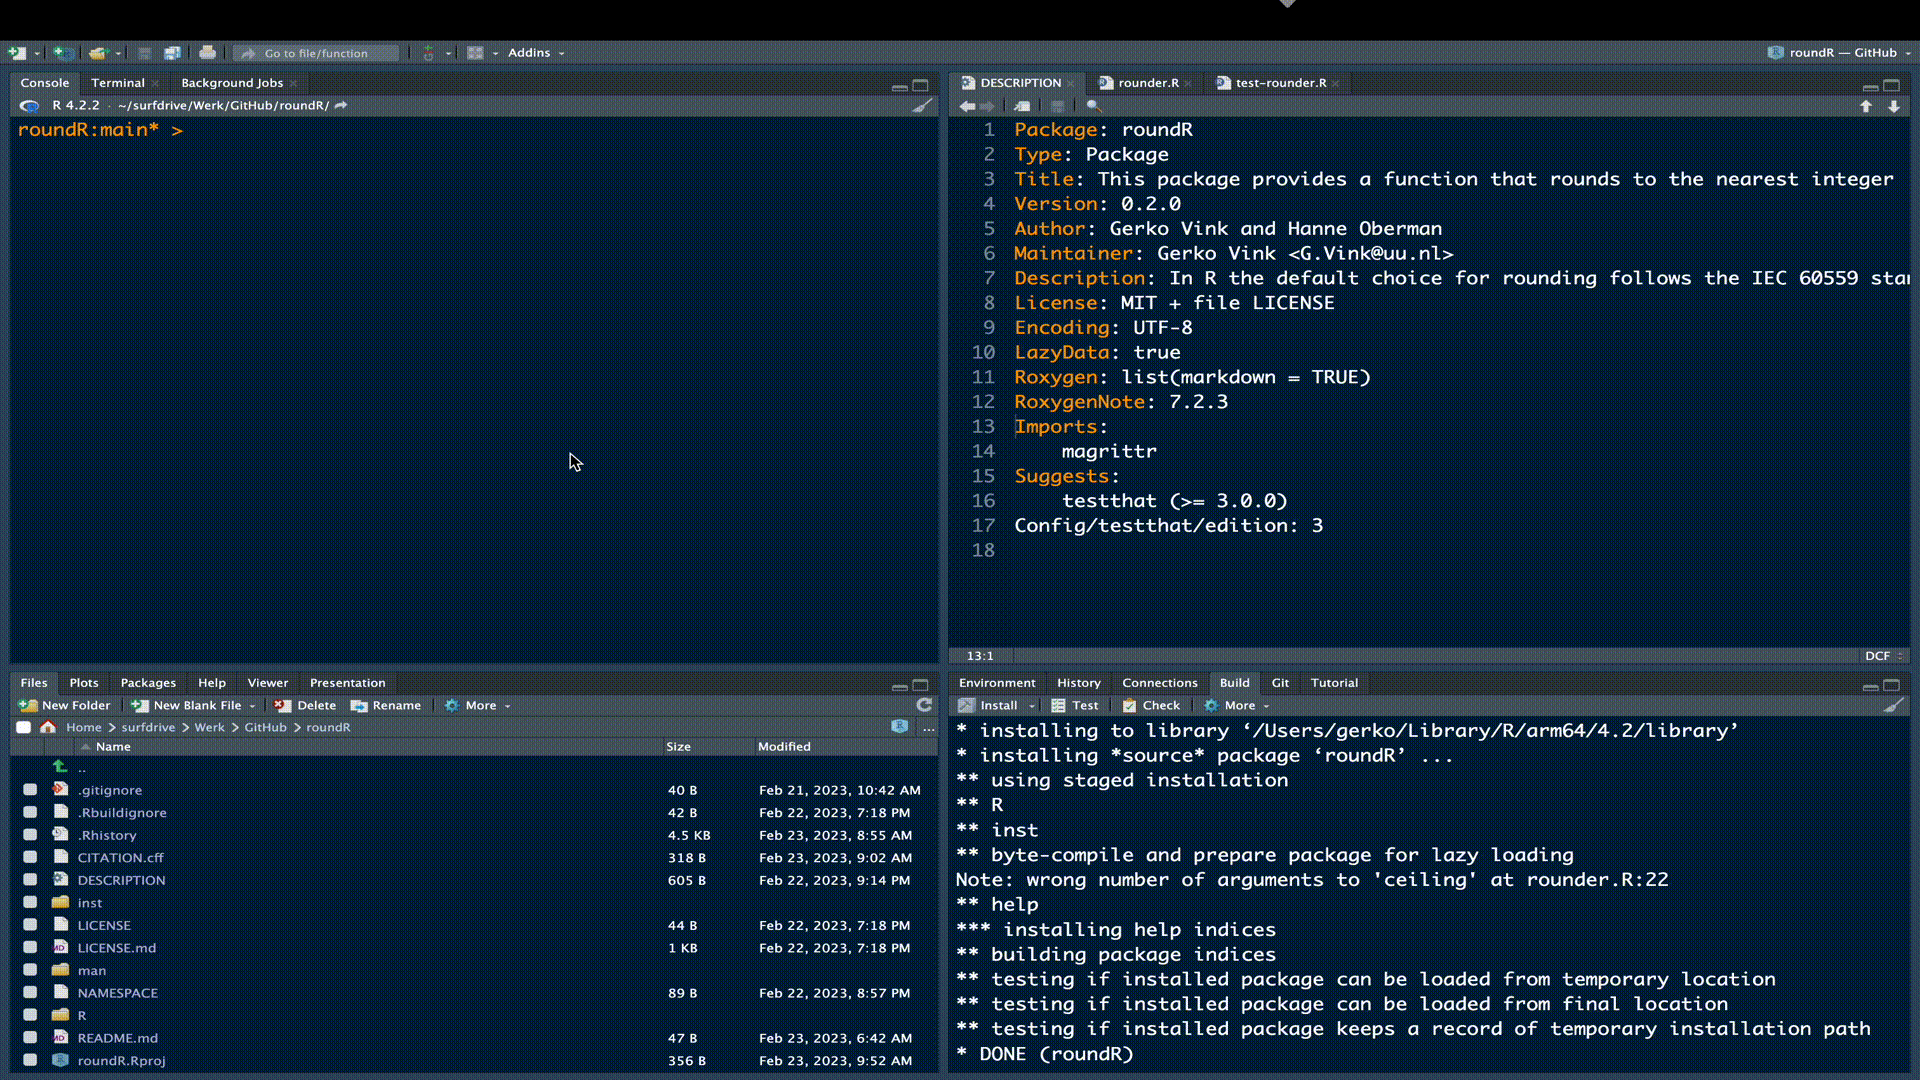
Let’s check the functionality of our package.
We can see under build > check that our current package yields 1 error, 1 warning and 1 note.
Error
❯ checking examples ... ERROR
  Running examples in ‘roundR-Ex.R’ failed
  The error most likely occurred in:

    ...

  > c(0.5, 1.5, 2.5, 3.5) %>% round()
  Error in c(0.5, 1.5, 2.5, 3.5) %>% round() :
    could not find function "%>%"
  Execution halted
The error stems from the examples in our documentation. The examples use the binary function %>% from package magrittr, but we did not load that package in the example. Remember that these examples are self-contained and that any dependent packages need to be explicitly loaded via library() for the code to run. Just like any other R instance. Simply adding library(magrittr) to the example code will solve the issue.
Add library(magrittr) to the example code:
#' @examples
#' library(magrittr)
#' # rounds weirdly
#' c(0.5, 1.5, 2.5, 3.5) %>% round()
#' # rounds correctly
#' c(0.5, 1.5, 2.5, 3.5) %>% rounder()
Warning
❯ checking Rd cross-references ... WARNING
  Missing link or links in documentation object 'rounder.Rd':
    ‘base::round’

  See section 'Cross-references' in the 'Writing R Extensions' manual.
The error stems from the crossreference we attempted in our documentation. The proper way to refer to function round() from package base is not with \link{base::round}, but with \link[base]{round} following the structure \link[package]{function}. We could have opted for not referencing, or linking the round() function at all, but this would not align with open and inclusive development conventions.
Correct the faulty crossreferences in the documentation:
#'Function \code{\link[base]{round}} rounds - by default -  the number `1.5` to
#'integer `2` and the number `2.5` also to integer `2`. The reason for this
#'behaviour is the IEC 60559 standard where a 5 is expected to be rounded to the
#'even digit. This function provides an integer rounding alternative to
#'\code{\link[base]{round}}.
Note
❯ checking R code for possible problems ... NOTE
  rounder: no visible global function definition for ‘%>%’
  Undefined global functions or variables:
    %>%
We use function %>% from package magrittr, but we neglected to make explicit that this function should have been imported from package magrittr. In other words, R needs to know that our package roundR would depend on package magrittr for its functionality to work.
We can fix this by runnin the following usethis evaluation in the console:
usethis::use_import_from("magrittr", "%>%")When asked
`use_import_from()` requires package-level documentation.
Would you like to add it now?

1: For sure
2: Not now
3: No way
choose the fun option that would add it (i.e. For Sure, Yes, Absolutely, etc). These options change every time you re-run the function code, so read it carefully!
Once you have selected the correct option, we can re-run the CHECK. You will find that there still persists an error in the example:
❯ checking examples ... ERROR
  Running examples in ‘roundR-Ex.R’ failed
  The error most likely occurred in:

  ...

  > c(0.5, 1.5, 2.5, 3.5) %>% rounder()
  Error in rounder(.) : could not find function "rounder"
  Calls: %>%
  Execution halted
Our package CHECK cannot find function rounder(). That may seem weird, since it is the only function in our package. The thing is - we have not explicitly told roxygen2 to export our function, i.e. to make our function available outside of the package namespace. Simply adding @export to the rounder.R file would solve this error:
...
#' @author Gerko Vink \email{g.vink@uu.nl} and Hanne Oberman \email{h.i.oberman@uu.nl}
#' @export
#' @examples
#' library(magrittr)
...
Try re-running the CHECK to see if you hit three green check marks (NO errors, warnings and notes). If all is well, you’ll see:
── R CMD check results ────────────────────────────────────────── roundR 0.1.0 ────
Duration: 6.6s

0 errors ✔ | 0 warnings ✔ | 0 notes ✔

R CMD check succeeded
Increasing the version
Now that we have a working package with a succesfull R CMD check, we might think about updating the version of the package. After all, a lot has changed since the last version got defined at the start of our development journey.
The easiest means to increasing the version to 0.2.0 (indicating a minor update) is to use
usethis::use_version()You will be presented with something like:
✔ Setting active project to '/Users/gerko/surfdrive/Werk/GitHub/roundR/roundR'
Current version is 0.1.1.
What should the new version be? (0 to exit)

1: major --> 1.0.0
2: minor --> 0.2.0
3: patch --> 0.1.2
4:   dev --> 0.1.1.9000

Selection: 2
✔ Setting Version field in DESCRIPTION to '0.2.0'
There is 1 uncommitted file:
* 'DESCRIPTION'
Is it ok to commit it?

1: For sure
2: Negative
3: Nope

Selection: 1
✔ Adding files
✔ Making a commit with message 'Increment version number to 0.2.0'
The question Is it ok to commit it? is related to Git. Please click to commit the version increase. For reasons of brevity and simplicity, we will leave a thorough discussion of incremental Git commits for now and demonstrate to use of Git and GitHub at the end of this walkthrough.
Add tests
The next step for a mature package is to include tests. Every function should have functional tests. The testthat package is geared to that. Make sure that you have the rounder.R file open in the Source pane and run:
usethis::use_test()The proper structure for test files has now been created:
✔ Adding 'testthat' to Suggests field in DESCRIPTION
✔ Setting Config/testthat/edition field in DESCRIPTION to '3'
✔ Creating 'tests/testthat/'
✔ Writing 'tests/testthat.R'
✔ Writing 'tests/testthat/test-rounder.R'
• Modify 'tests/testthat/test-rounder.R'
You are asked to modify the tests/testthat/test-rounder.R file. Replace the example test with:
test_that("rounder works", {
  A <- c(0.5, 1.5, 2.5, 3.5) %>% rounder()
  B <- c(0.49, 1.49, 2.49, 3.49) %>% rounder()
  expect_equal(A, c(1, 2, 3, 4))
  expect_equal(B, c(0, 1, 2, 3))
})

test_that("rounder yields different results than round", {
  vec1 <- c(0.5, 1.5, 2.5, 3.5)
  vec2 <- c(0.499999999999999999995,
            1.499999999999999999995,
            2.499999999999999999995,
            3.499999999999999999995)
  A <- vec1 %>% rounder()
  B <- vec1 %>% round()
  C <- vec2 %>% rounder()
  D <- vec2 %>% round()
  expect_false(identical(A, B))
  expect_false(identical(C, D))
})
Click the Test button in the build pane:
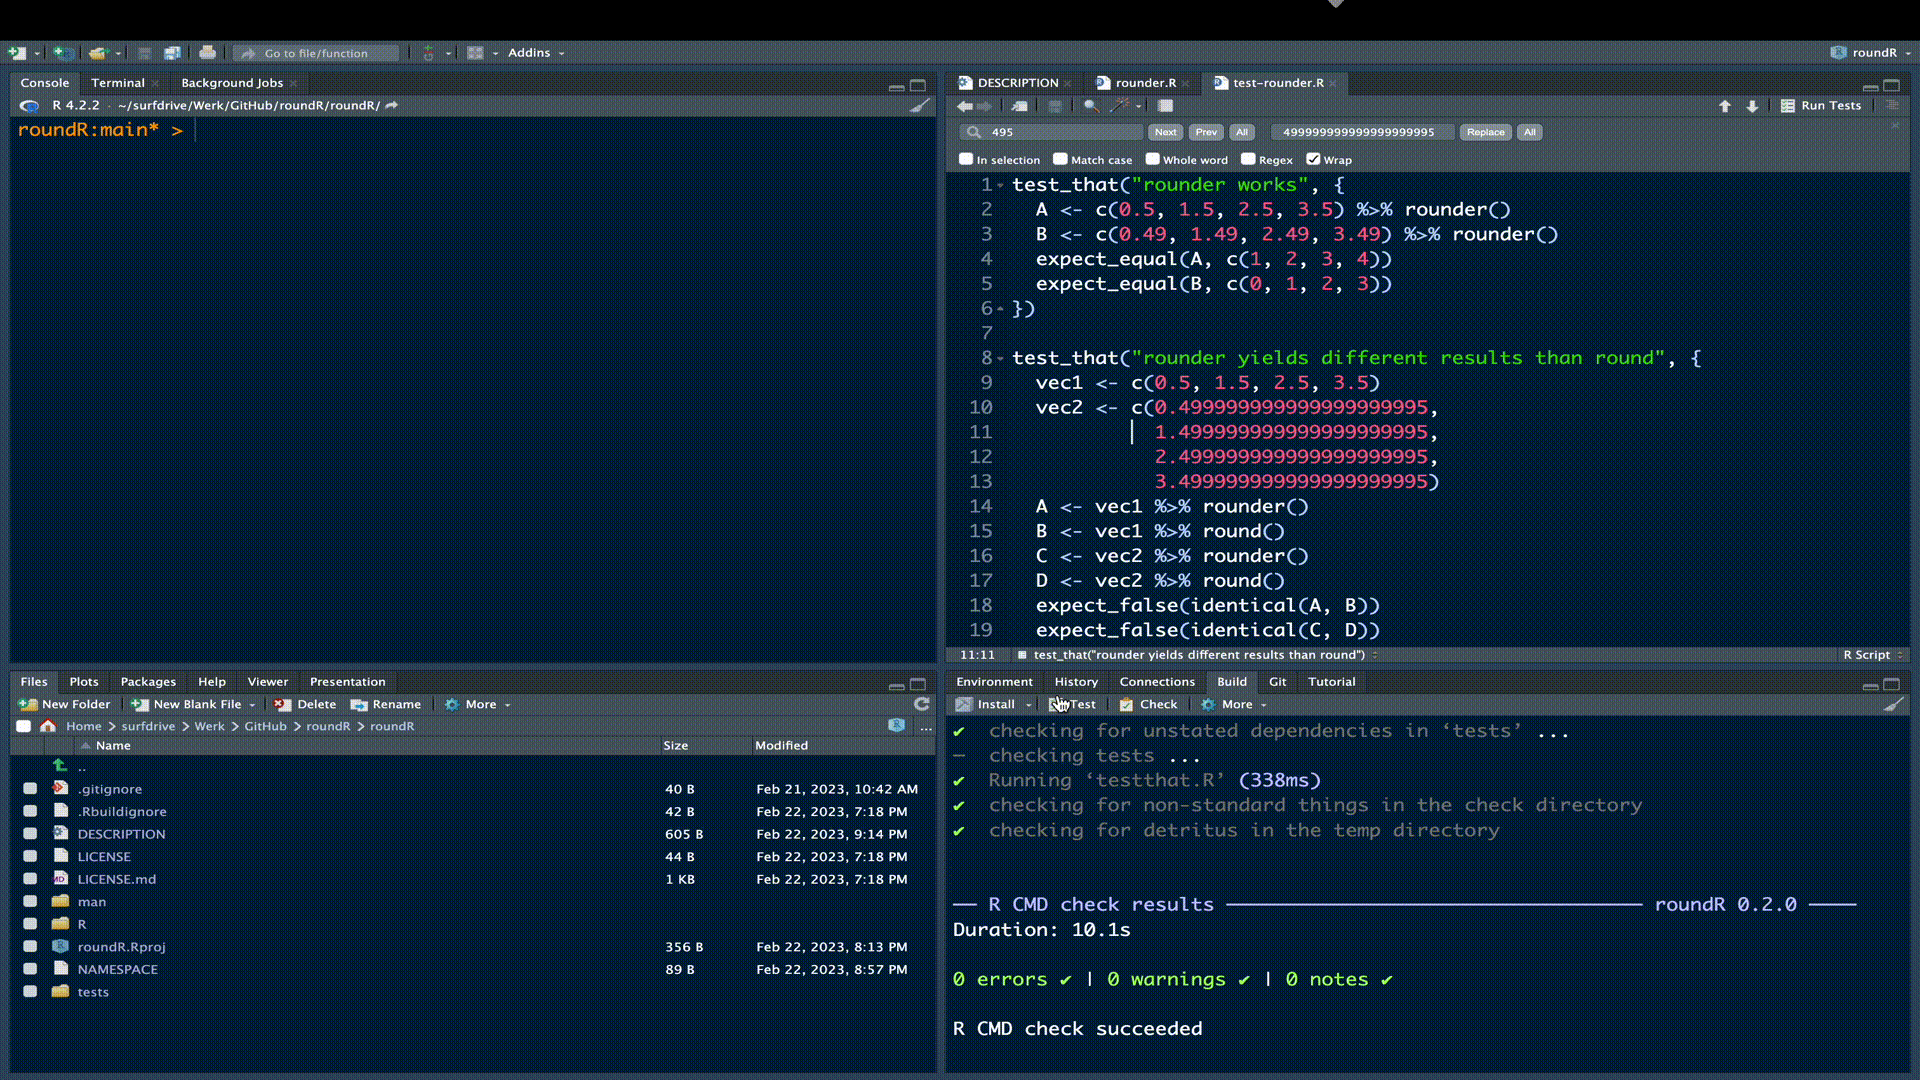
All test should pass, meaning that your rounder() function yields correct results (test 1) that differ fundamentally from the results obtained with round() (test 2).
If test would fail, you’d be notified. For example
test_that("rounder works", {
  A <- c(0.5, 1.5, 2.5, 3.5) %>% rounder()
  expect_equal(A, c(4, 3, 2, 1))
  })
── Failure: rounder works ──────────────────────────────────────────────────────
`A` not equal to c(4, 3, 2, 1).
4/4 mismatches (average diff: 2)
[1] 1 - 4 == -3
[2] 2 - 3 == -1
[3] 3 - 2 == 1
[4] 4 - 1 == 3Error:
! Test failedFortunately, our test all passed. Now rerun the R CMD check. If all is well you’ll receive confirmation of a successful check.
Publishing to GitHub
This section assumes that you are logged into your GitHub account. If you have trouble realizing this, GitHub has a great step-by-step walkthrough.
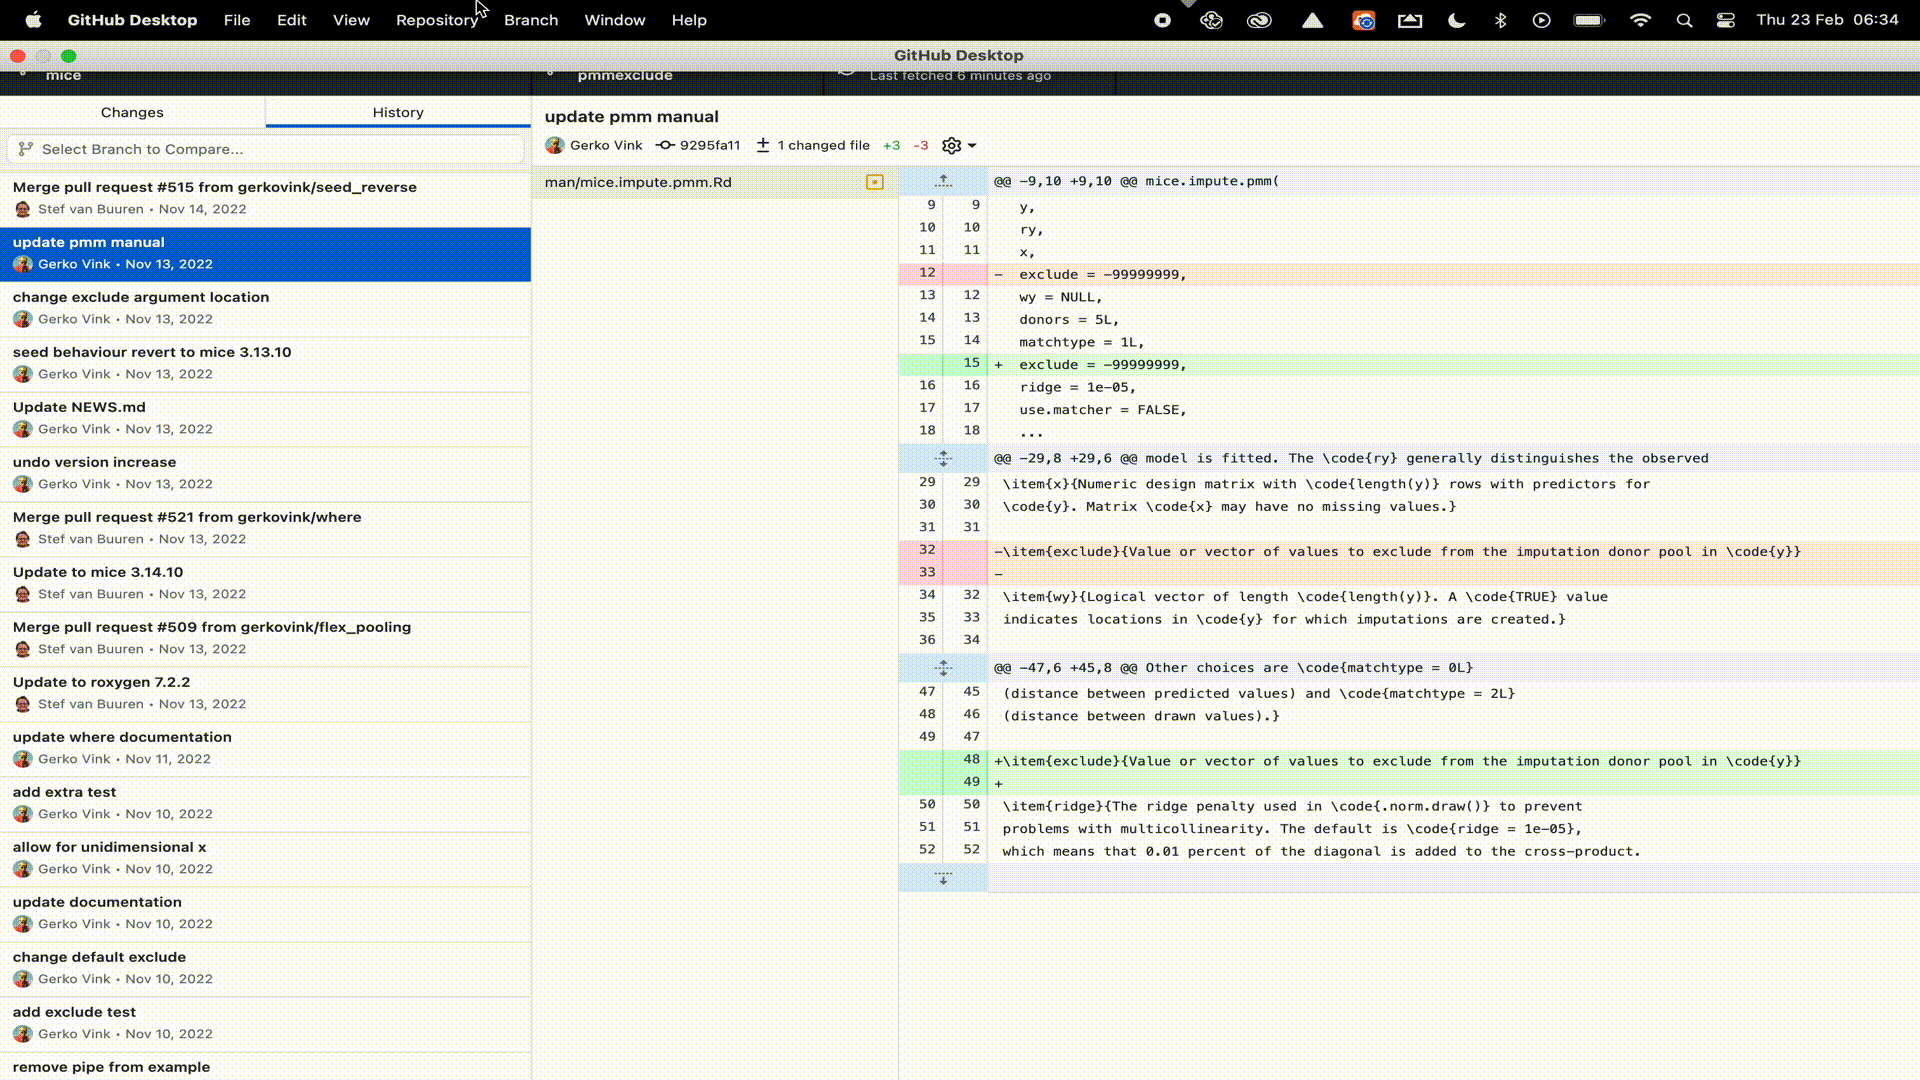
Let’s publish our R-package to GitHub. To do so, we need to perform two steps. First, we must log (commit) our changes to the Git distributed version control system. This stores the file changes to our own machine. Next we must link our local Git to a remote online repository on GitHub. Luckily, with GitHub Desktop, we can perform all these steps in a single window interface.
R-package to GitHub desktop. Remember that we already started the package in RStudio as a Git repository, so we only have to point GitHub desktop to the correct directory.
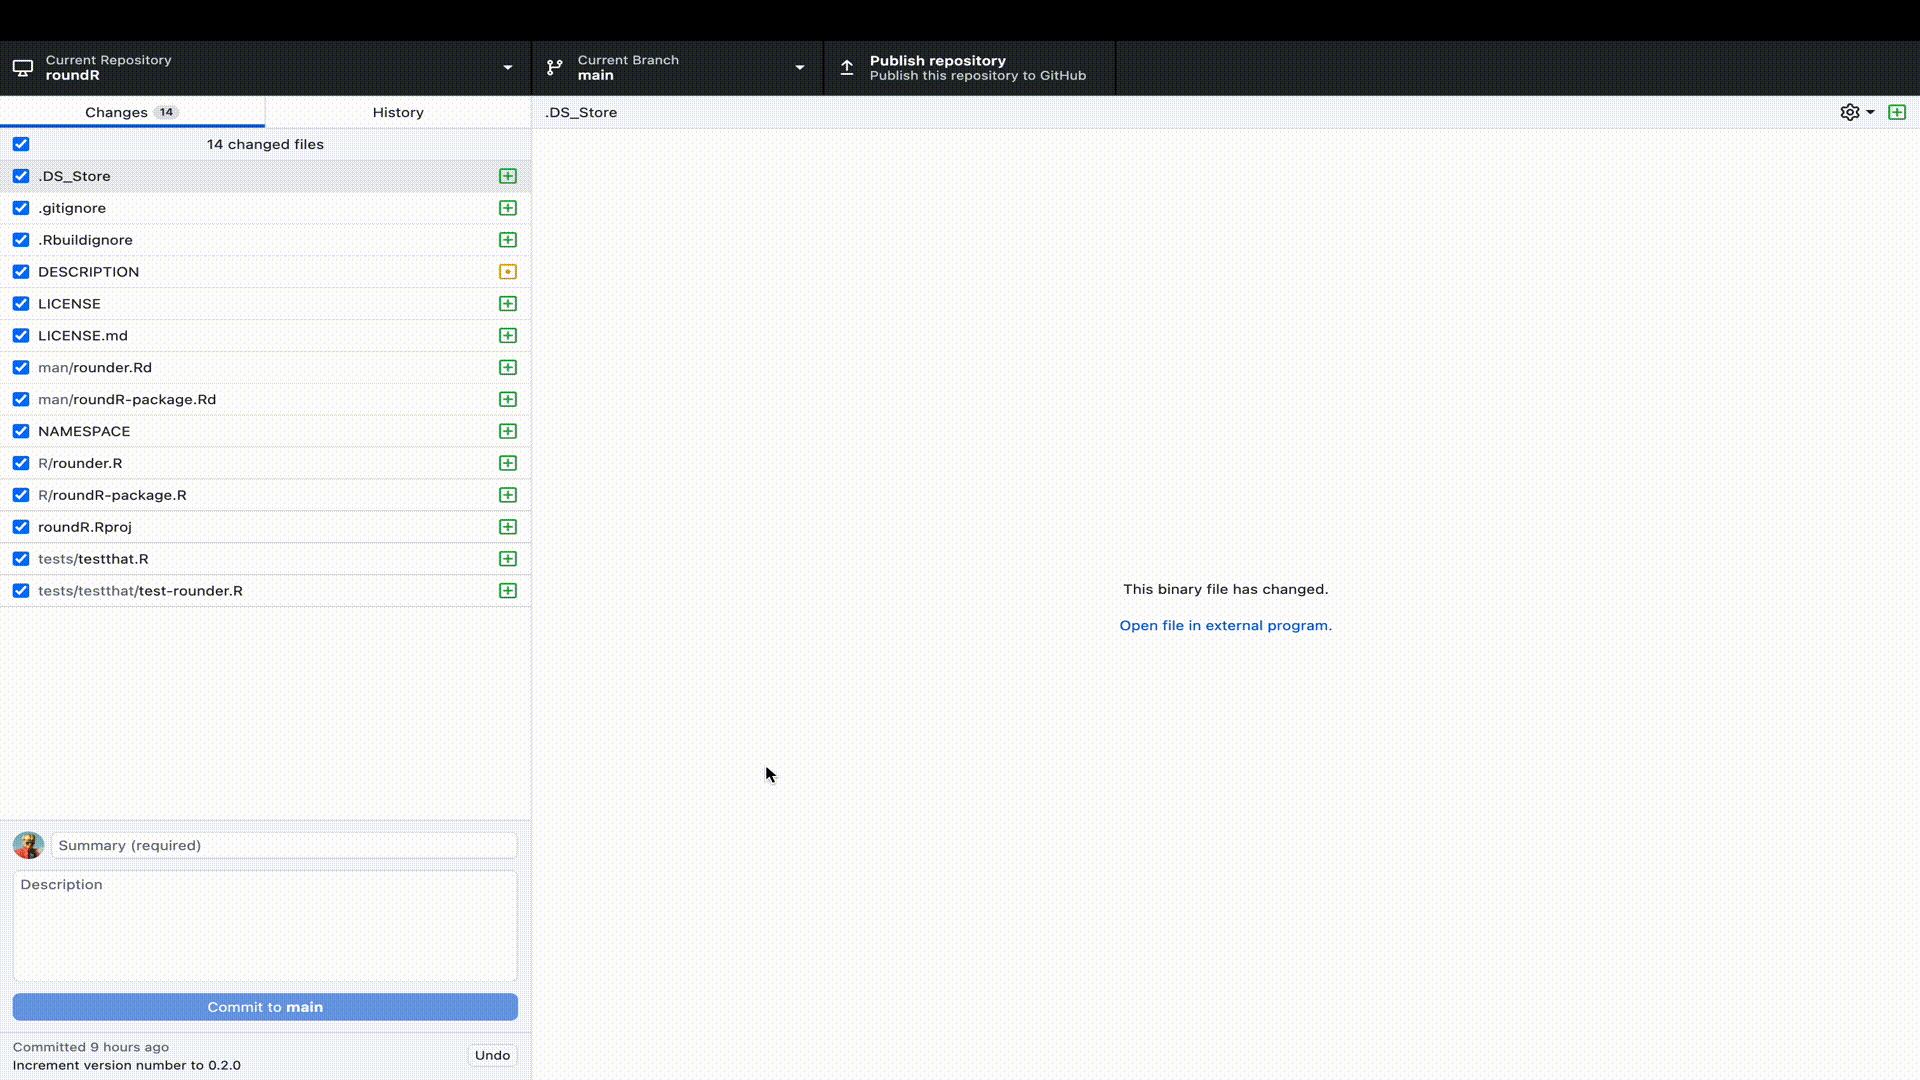
Naturally, you would not only do this at the start (when RStudio created the Git repository) and end (when we have a working package), but at regular and informative intervals. For example, when you add a function, a test, a help file, a license, etcetera.
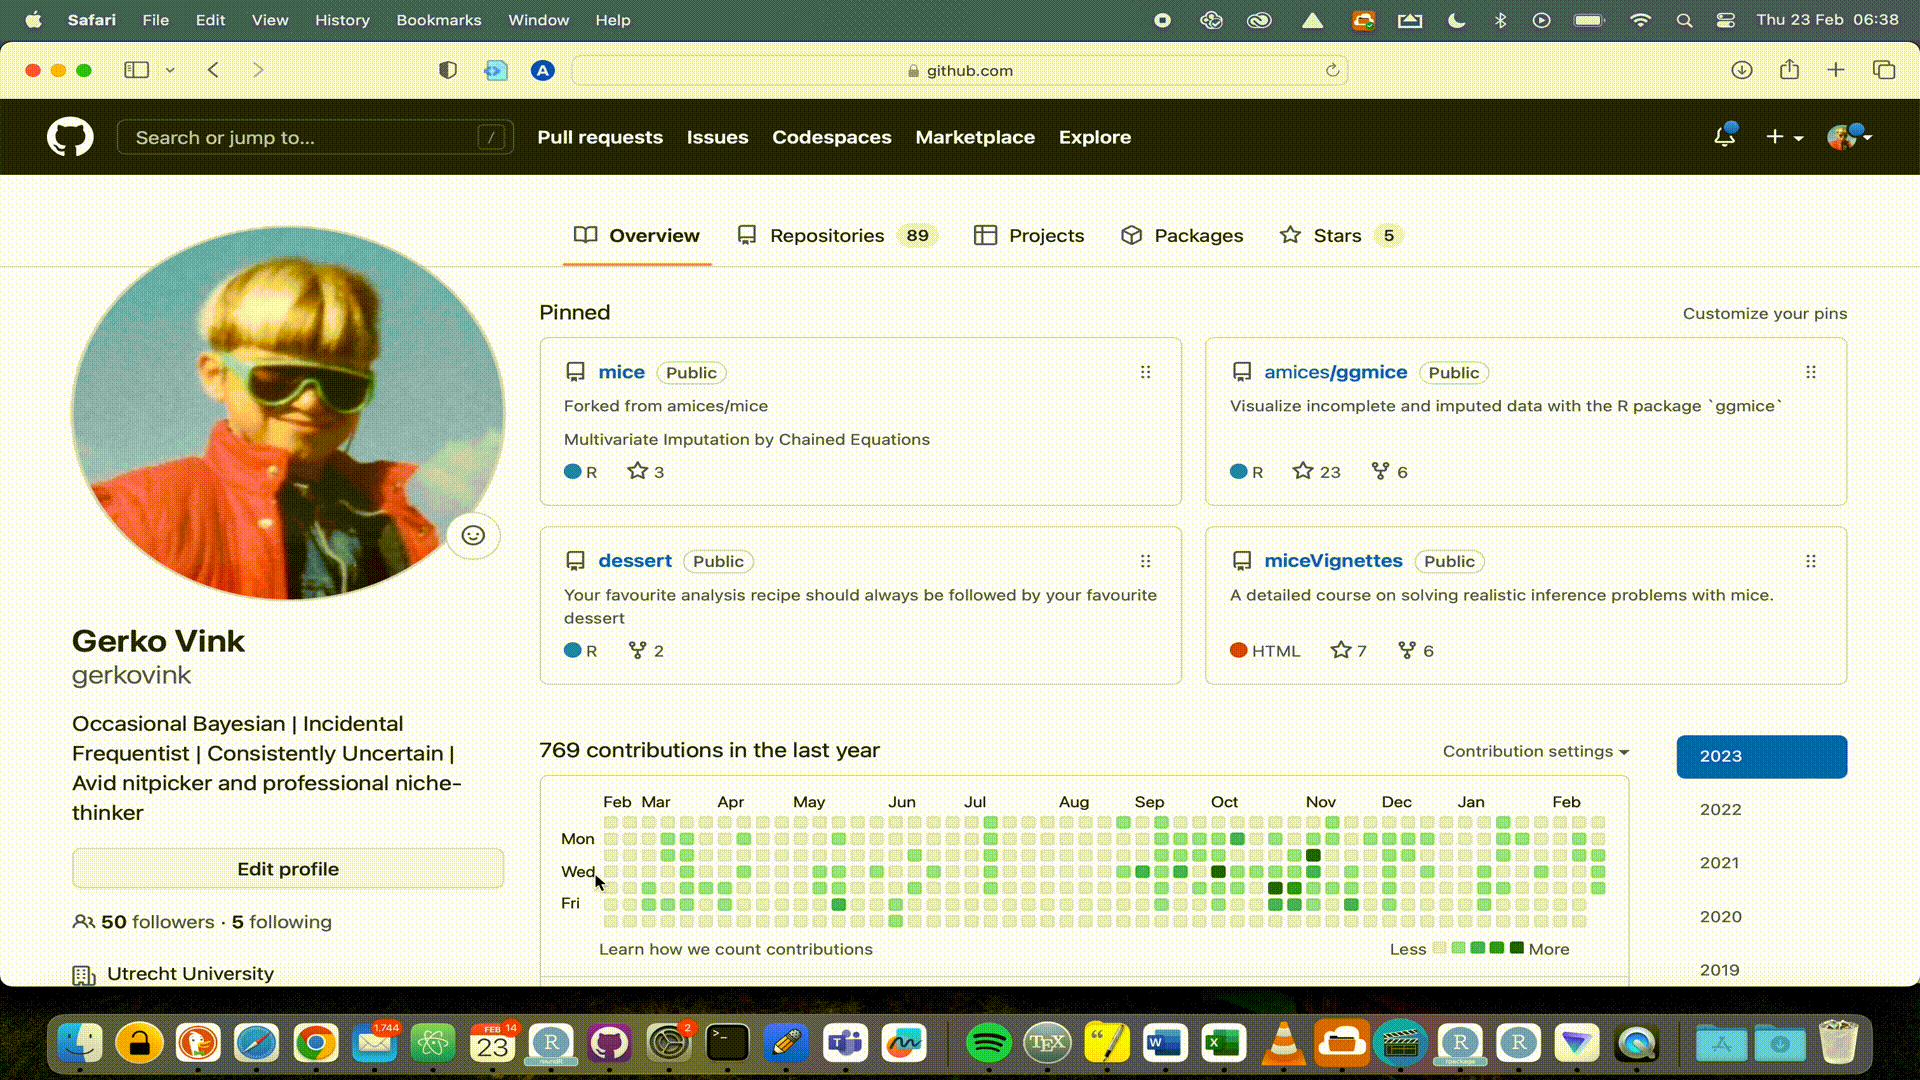
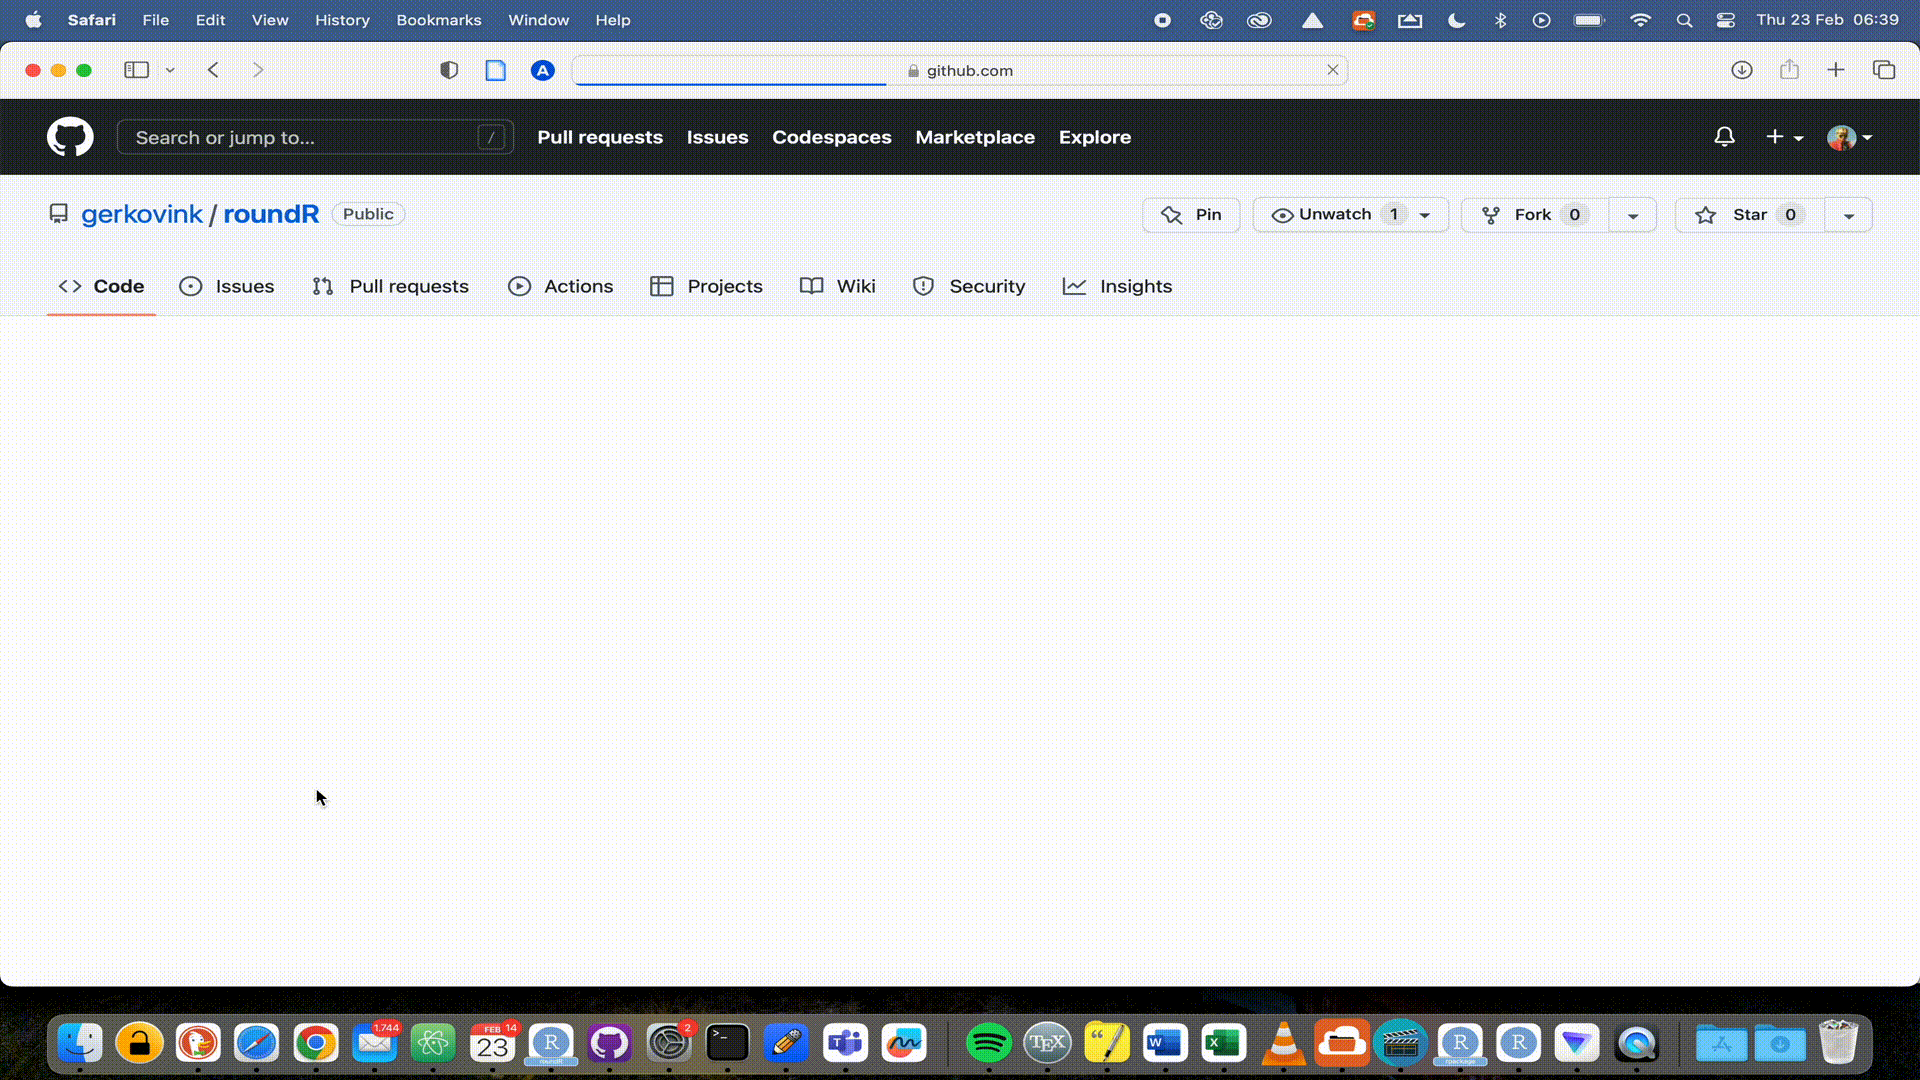
GitHub.

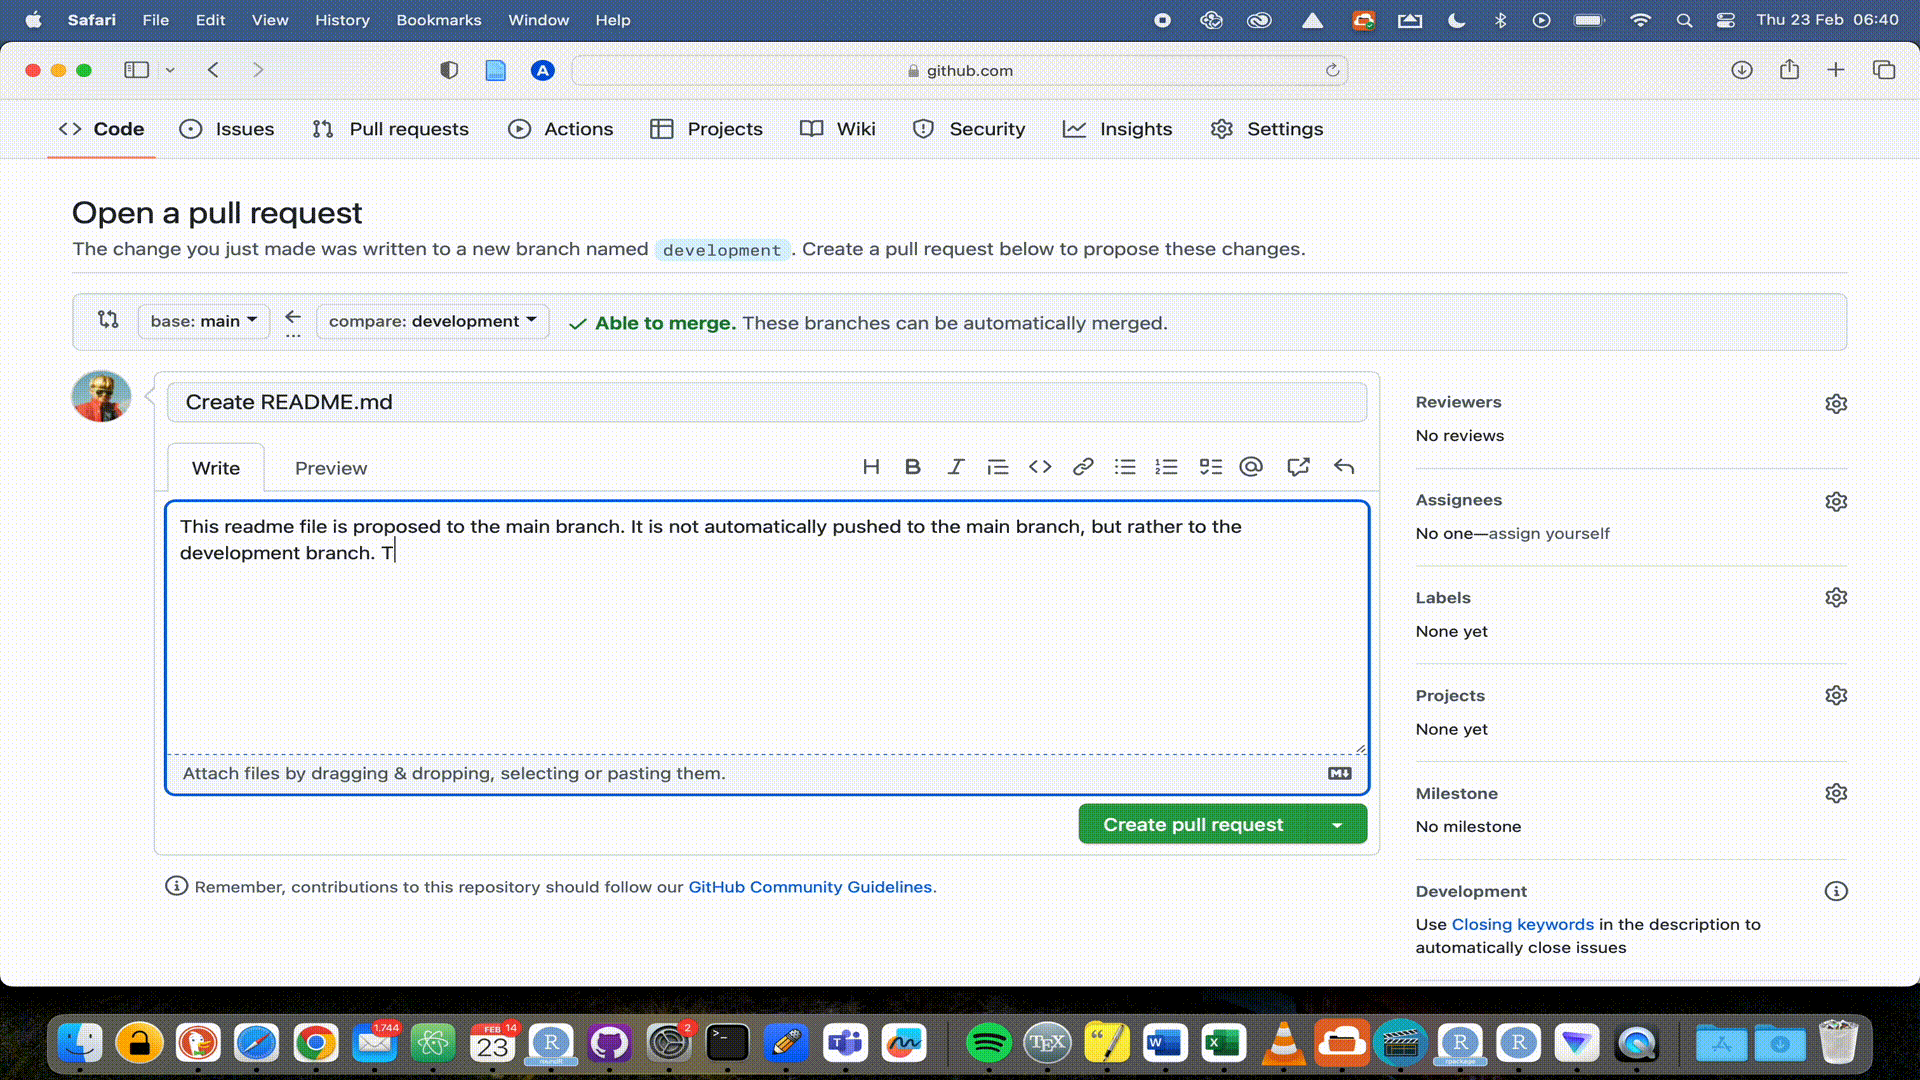
GitHub repositories at https://github.com. You will see your package there and that the license is automatically recognized. You will also see that you are in the main branch. By default, that will be the live version of your package. Now that your package is live, it would be nice to add a Readme file that informs visitors to your repository. But we will extend our workflow with a good behaviour: not working in the main branch. We would not want to accidentally overwrite or break the functionality of our package, just because we were working in the same branch. So let’s add a Readme to a new development branch.
Readme file to the development branch, a new window opens to propose the pull request (PR). The PR is nothing more than a request to the package developers to pull your proposed changes into (usually) the main branch of the software. Since we are the developers, we have to both create and accept the PR.
It is good procedure to write an informative PR message, usually outlining the nature and rationale of the changes. I also demonstrate how to accept a PR, thereby approving the changes per file (only one now) and signing it with my initials. I cannot formally approve my own PR, since that would leave great opportunity for subjectivity or error. Proper procedure would be to have someone else check and approve your changes.
When you go back to GitHub desktop and fetch the changes on teh remote (that would be GitHub online), you will see that you have now access to the readme file and the development branch.
Registering a DOI
Now that we have a proper and open source package online and the world as our user base, it would be wise to allow for proper referencing of our package.
GitHub and Zenodo have paired to facilitate this procedure. If you link your Zenodo account to GitHub, as outlined here, you only have to click, copy and paste to fully make your GitHub repo citeable.
Add citation
Zenodo prepares the repository citation for us. We can simply grab the info, change our personal information and submit it to GitHub.

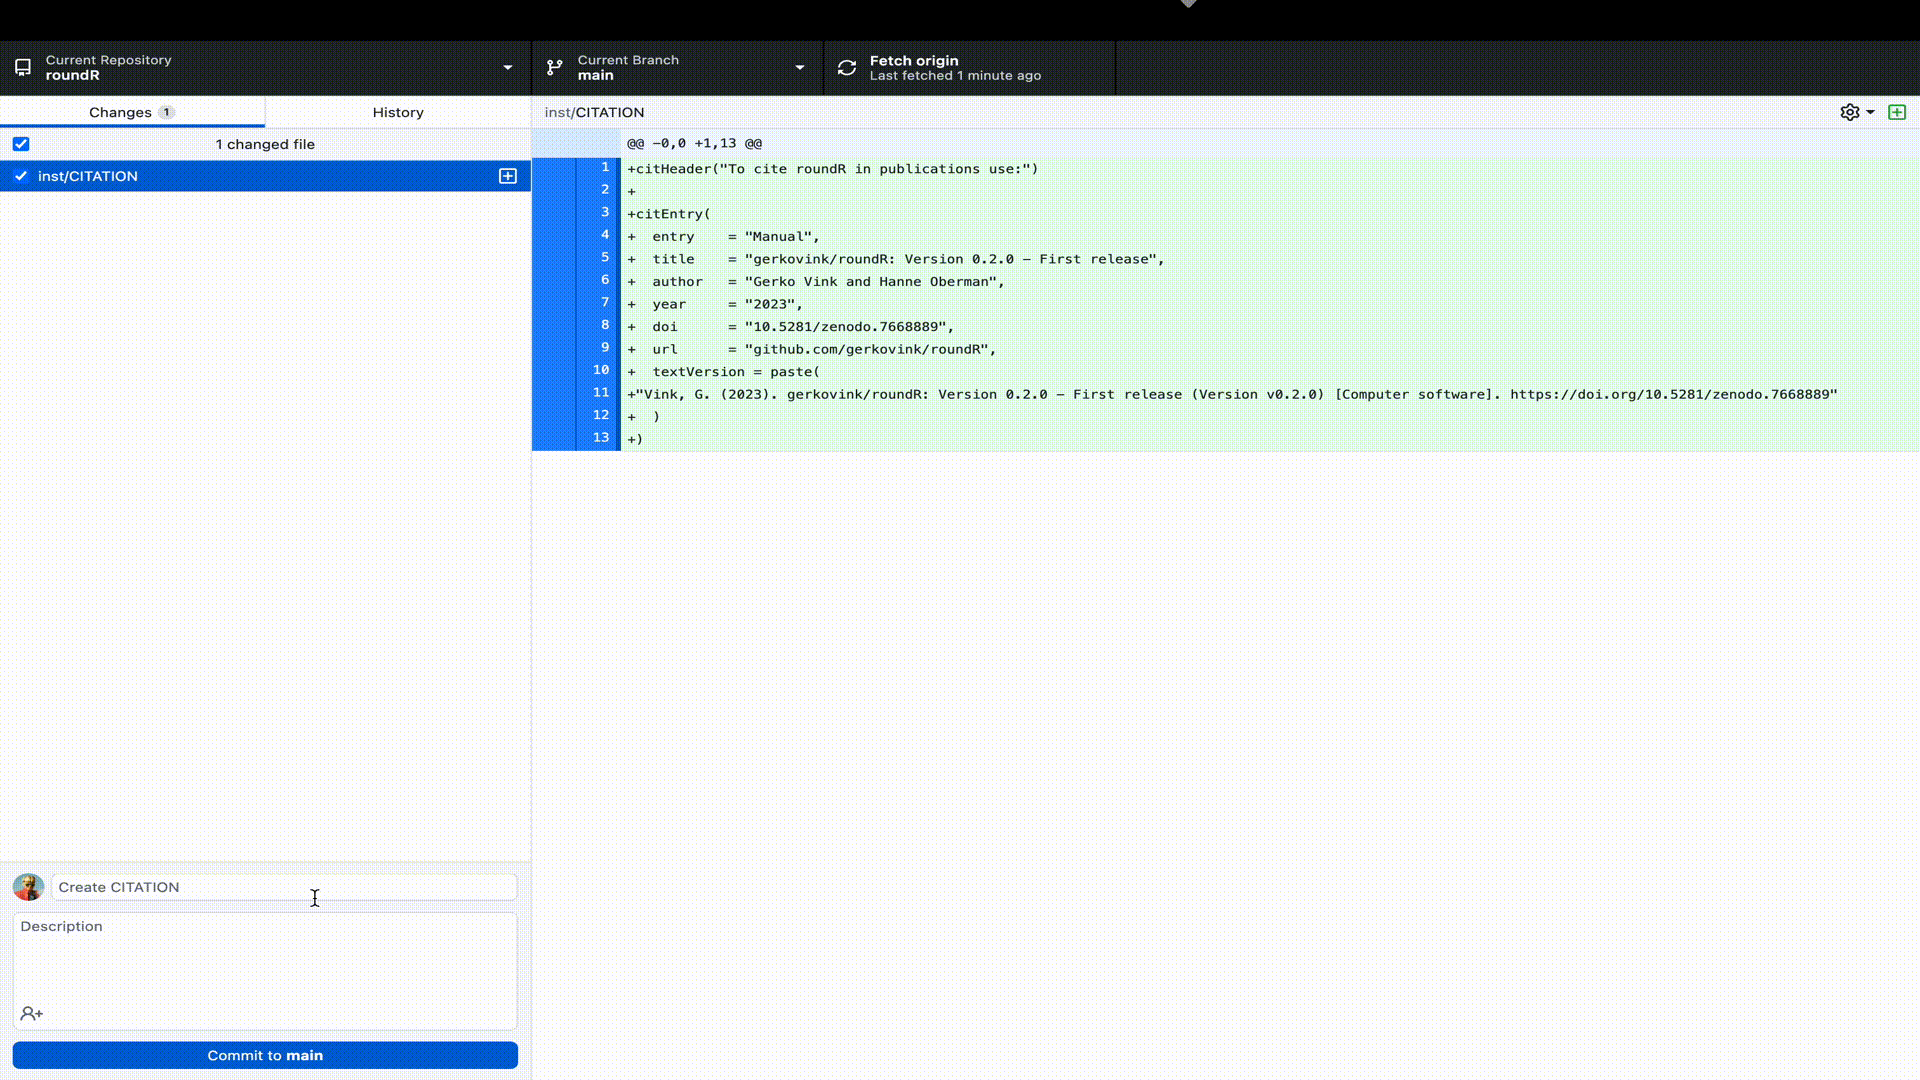
The final step before we would put our package out there is to notify how users can refer to our package. Run the following code:
usethis::use_citation()which will create the necessary citation files for modification
✔ Creating 'inst/'
✔ Writing 'inst/CITATION'
• Modify 'inst/CITATION'
We can now simply grab the text and/or bibtex citation from GitHub and paste it into the CITATION file. The citation info cf. R-packages could be:
citHeader("To cite roundR in publications use:")

citEntry(
  entry    = "Manual",
  title    = "gerkovink/roundR: Version 0.2.0 - First release",
  author   = "Gerko Vink and Hanne Oberman",
  year     = "2023",
  doi      = "10.5281/zenodo.7668889",
  url      = "github.com/gerkovink/roundR",
  textVersion = paste(
"Vink, G and Oberman, H.I. (2023). gerkovink/roundR: Version 0.2.0 - First release (Version v0.2.0) [Computer software]. https://doi.org/10.5281/zenodo.7668889"
  )
)
Modify this to your name and paste it into the CITATION file.
Installing your own package from GitHub
Go to GitHub desktop, and commit and push the changes to GitHub. Then run the following code block:
devtools::install_github("gerkovink/roundR")where you replace "gerkovink/roundR" with your GitHub handle and repository name.
Advanced topics

Potential next steps include:
- Creating package documentation (e.g. vignettes)
- Creating a hex logo (e.g. with
hexmake) - Creating a package website (e.g. with
pkgdown) - Checking the FAIR-ness of your package (e.g. with
howfairis, or BadgeApp) - Checking the code coverage of your package (e.g. with Codecov)
- Maintaining the package (e.g. with GitHub issues)
- Maintaining contributions (e.g. with a code of conduct)